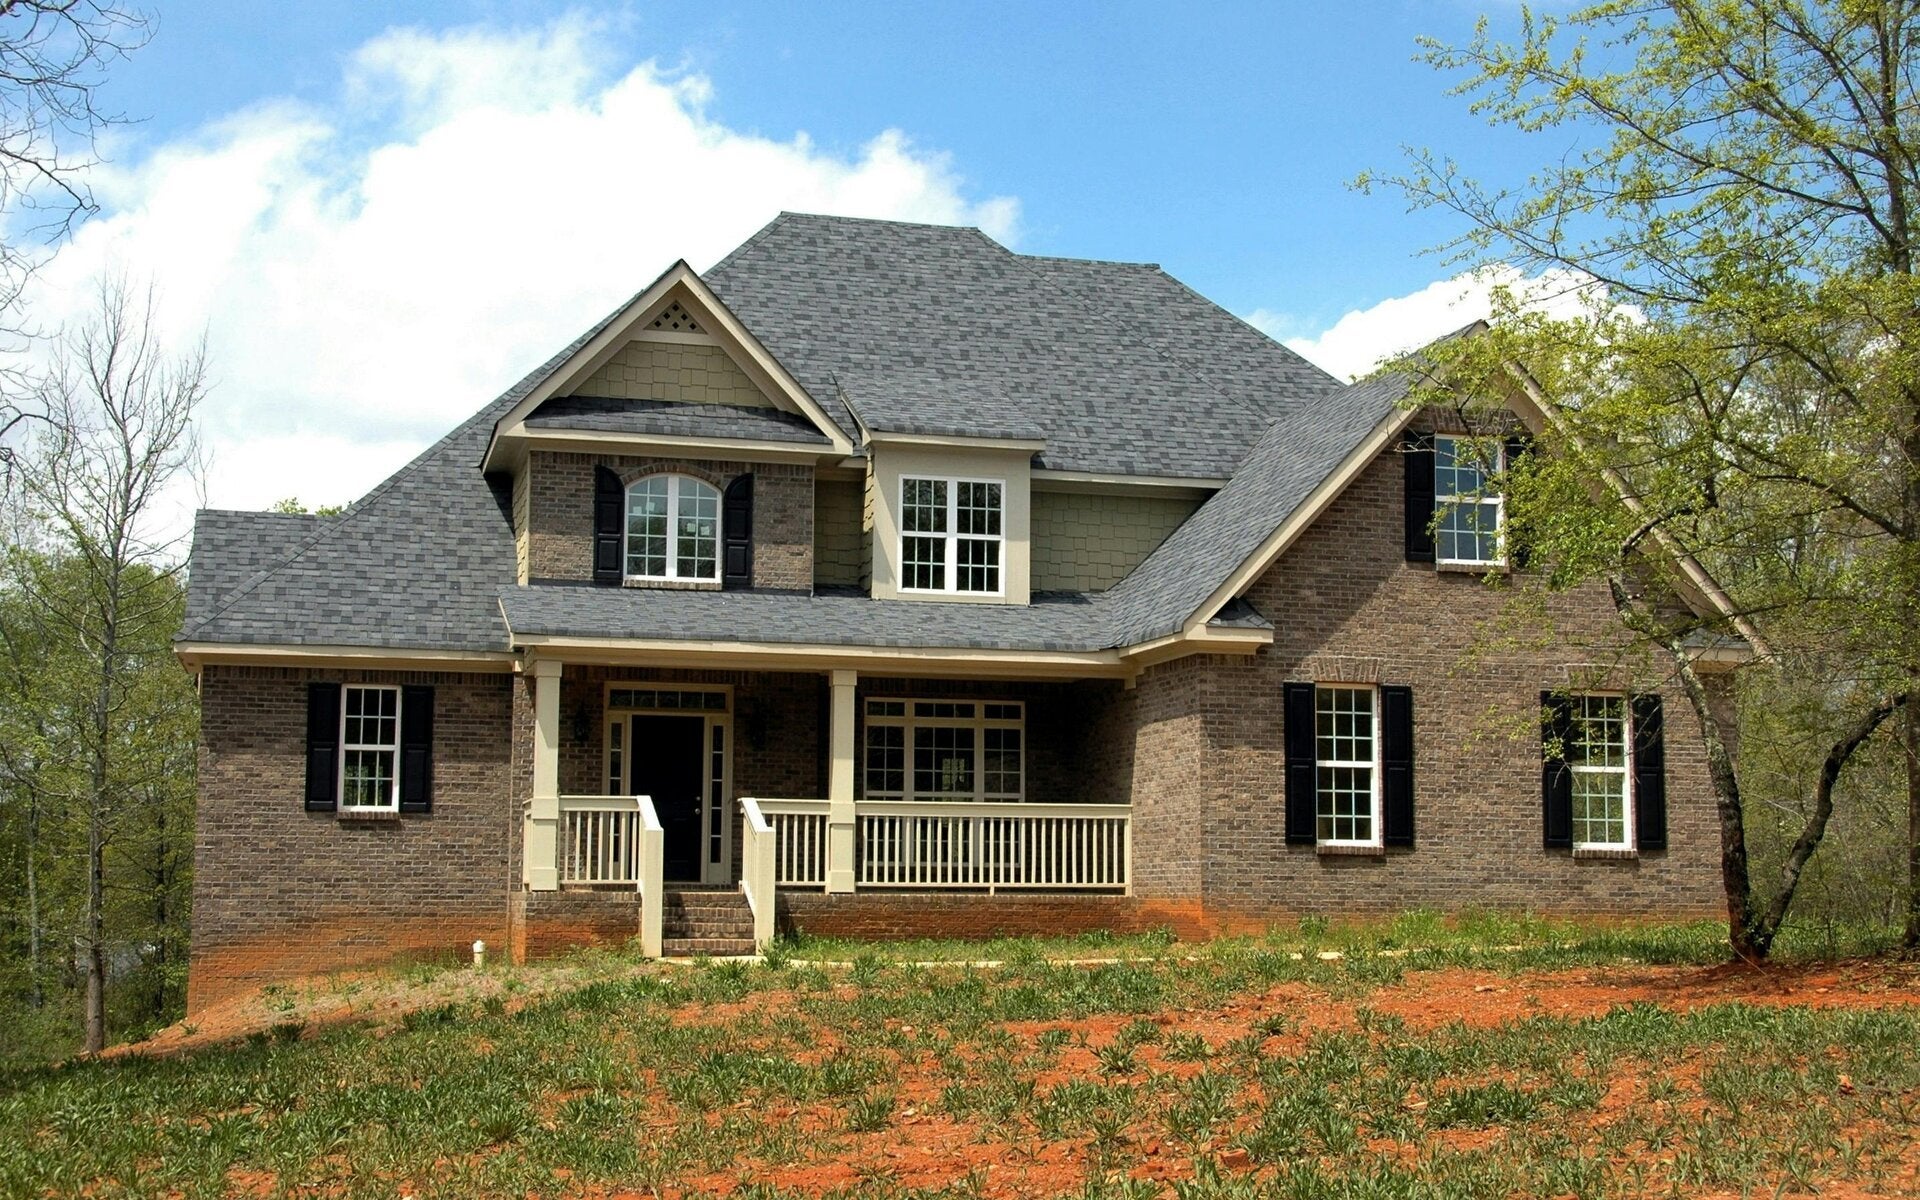
Quality roofing and driveway and weatherproofing and weeping tile solutions
Discover All Type construction
commitment to quality and service in Mississauga, Toronto and surrounding area Ontario. We provide reliable roofing and driveway services using the right materials at the right prices. Join us as we build success together.

New roof installations
All Type construction specializes in new roof installations, ensuring durability and aesthetic appeal for your home. We use the best materials and techniques to deliver a roof that lasts. Our services include new shingles, guttering, and fascia to complete your roofing project.
Goal: Remove all old roofing down to the bare decking.
Steps:
1. Remove ridge caps first.
• Start at the top and work downward.
2. Tear off shingles:
• Use a roofing shovel or flat spade to pry up shingles and nails.
• Work in sections (about 4–6 feet wide).
3. Remove underlayment and flashing:
• Strip off old felt paper or synthetic underlayment.
• Remove step flashing and drip edge if damaged.
4. Clean the deck:
• Sweep off nails and debris.
• Inspect the existing sheathing for rot or delamination.
Goal: Replace or cover old decking with new plywood or OSB.
Steps:
1. Inspect all roof boards:
• Replace any soft or damaged wood.
• Check for solid nailing surfaces at rafters.
2. Lay new sheathing:
• Use ½” plywood or 7/16” OSB typically.
• Stagger the joints (brick pattern) for strength.
• Leave a ⅛” gap between sheets for expansion.
3. Nail securely:
• Nail to rafters using 8d nails or 2” screws.
• Nail every 6” along edges and every 12” in the field.
4. Trim and inspect:
• Cut sheathing to fit valleys, ridges, and edges.
• Check for level surfaces and tight nailing.
⸻
Goal: Create a watertight barrier before shingles go on.
Steps:
1. Install drip edge:
• Along the eaves first, then along the rakes later.
2. Apply ice & water shield:
• Lay 3–6 feet along the eaves, valleys, and around vents/chimneys.
• Overlap edges by at least 3”.
3. Install underlayment:
• Roll it out horizontally (parallel to eaves).
• Overlap each row by 4–6 inches.
• Staple or nail it flat without wrinkles.
4. Add flashing:
• Replace or reinstall valley metal, step flashing, and chimney flashing as needed.
⸻
l: Properly lay shingles for maximum life and weather protection.
Steps:
1. Starter strip:
• Install along the eaves first — this helps prevent leaks and blow-offs.
2. First shingle course:
• Begin at the lower edge, offsetting joints per manufacturer’s pattern.
3. Continue up the roof:
• Nail 1” above the cutout, 4 nails per shingle (6 in windy areas).
• Stagger joints as you go.
• Overlap each course properly (usually 5”–6” exposure).
4. Install ridge shingles:
• Use pre-cut ridge caps or cut from 3-tab shingles.
• Nail securely along the ridge line.
5. Seal and clean up:
• Use roofing sealant on exposed nail heads.
• Clean debris and check flashing one last time.
⸻
Goal: Ensure the roof is tight, aligned, and weatherproof.
Checklist:
• All nails properly seated and sealed.
• Flashing and vents watertight.
• Shingles straight and uniform.
• Ridge caps installed and sealed.
• Gutters and grounds cleane
Interlocking with a facelift
including Pressure cleaning
-
and lift and relay where
needed
-
resending
-
resealing


View our latest work
Discover our collection of creative work and visual projects. Each piece showcases our attention to detail and commitment to delivering results that exceed expectations.
Asphalt sealing


"All Type construction provided exceptional service and quality workmanship. I highly recommend them for any roofing or driveway project!"
Satisfied Customer, Mississauga